Woodpecker is designed to be super simple to use for anyone that wants to automate document preparation and standardize frequently used documents. Creating your first Woodpecker document is really easy and takes less than five minutes. If you haven't already, download Woodpecker from the Microsoft Office store.
Let’s walk through the basics of using Woodpecker to standardize your first document.
Step 1: Getting started
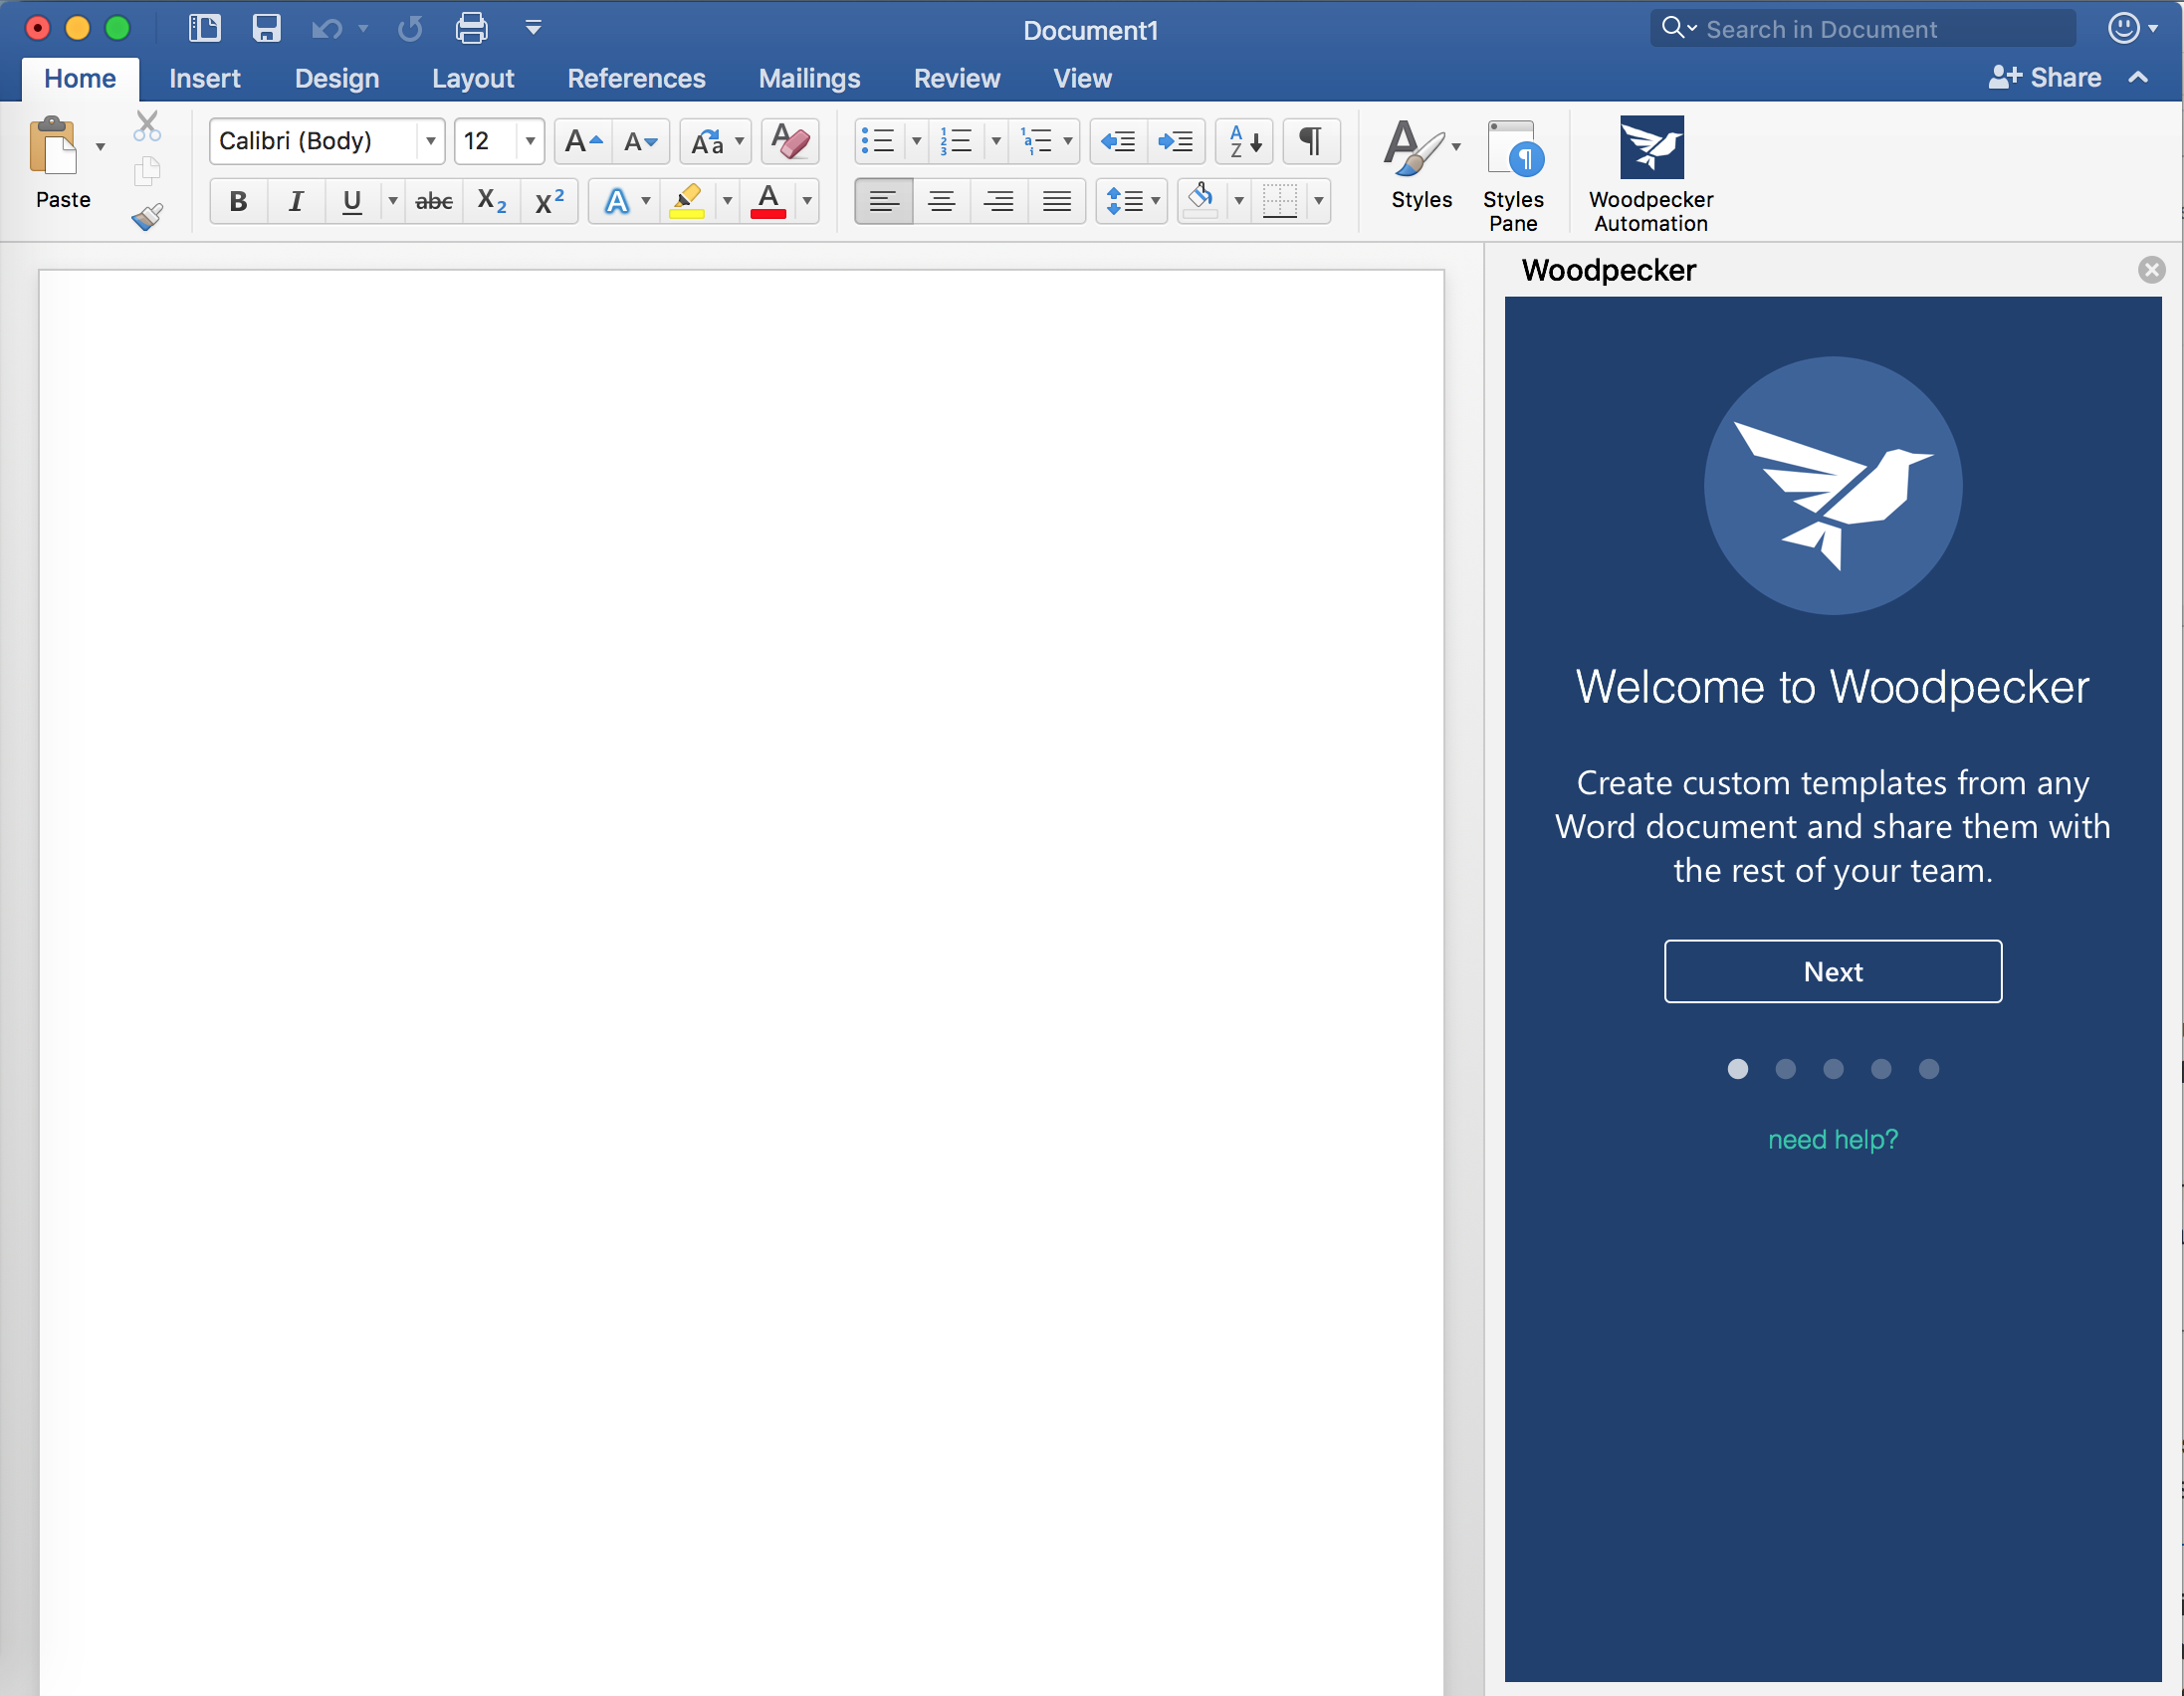
To get started, open any Word document and click the Home tab.
Open Woodpecker by clicking the "Woodpecker Automation" button. If you don't see the Woodpecker button under the "Home" tab, just download Woodpecker here.
Woodpecker will open up on the right side of your document and you should see a series of welcome screens if this is your first time opening the add-in.
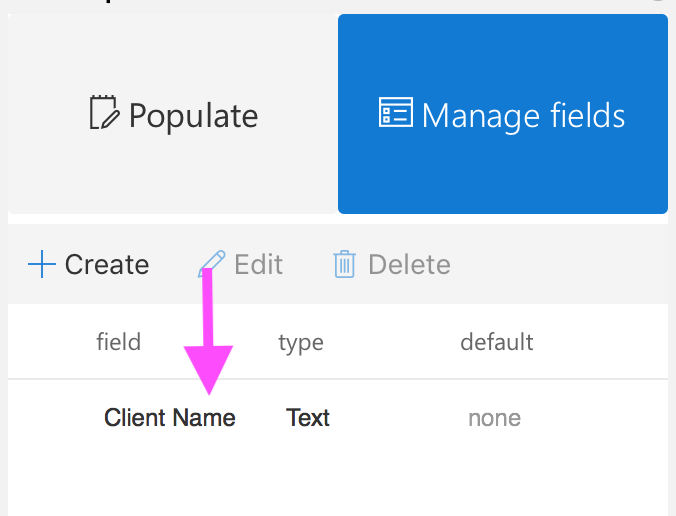
The "getting started" screens will walk you through creating and inserting a field into your document. Once you've completed the "getting started" screens you you will have created an example field. Navigate to the "Manage fields" tab and you should see the field that was created for you during the "getting started" screens. At this point you can leave the field the way it is, rename it and continue to use it, or you can delete it and start creating additional custom fields from scratch.
Step 2: Create a new field
The ability to create custom fields is one of the key features that make Woodpecker awesome! If you’re not familiar with Woodpecker fields yet, a field can be inserted anywhere in your document and is automatically filled with information like text, dates, or custom data. Woodpecker lets you reuse fields so you can avoid filling in the same information over and over again, ultimately eliminating typos and mistakes in your documents.
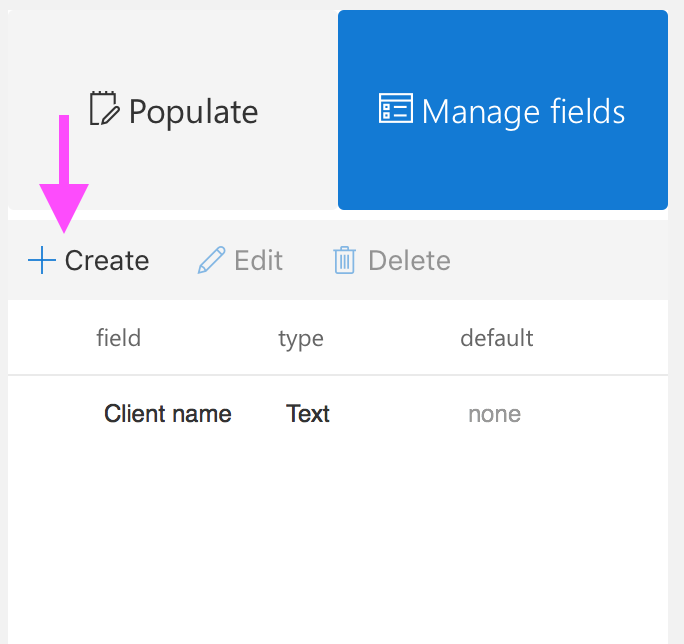
To create a new field, click the "Create" button on the far left of the command bar. You’ll then be presented with a pop-up where you can name your field and specify its type and default value. In this example, we've named our field "Party one."
Click "Save" once you've decided on a good name for your field and the appropriate field type (you can choose "Text", "Text box", or "Date" - learn more about field types).
Step 3: Insert your field into the document
Once you’ve created your field, you’ll need to insert it into your document. You can insert a field into your document as many times as you'd like!
To do this, navigate to an area in your document that you want to place your field. Place your cursor in a specific spot or select existing text and hit the plus icon next to your field. Woodpecker then automatically inserts your field right inside your document.
Once a Woodpecker field has been inserted into your document, you can update the value of the field at any time from right with Woodpecker. The more instances of a field you have within your document, the more time you'll save the next time you need to change the field's value.
Step 4: Fill your field in with custom information
Once you’ve created your field and inserted it into the document, it’s finally time to fill it in! Simply navigate to the “Populate” tab, enter any value for your field and click the “Save” button at the bottom right. Woodpecker will fill in each instance of your field with the value you’ve specified. In our example we only have one instance of the field "Party one" but we could insert it as many times as we wanted and Woodpecker would update all of them!
Step 5: Continuing your journey with Woodpecker
Congrats! You successfully created a field, inserted it into your document, changed its value, and updated it in your document. To continue, try creating a field for any information in your document that is likely to change (like dates, addresses, or names) and insert the fields into your document. Then, the next time you need to prepare the document for a new recipient, all you have to to is fill in the new information from within Woodpecker and you're done!
If you have questions or get stuck, you can always reach out to us via the chat widget within Woodpecker or on our site. Or, if you prefer you can reach us by email anytime! support@woodpeckerweb.com
Still don't have Woodpecker? Click the button below and give it a try.


